Hey everyone!
Please forgive my long absence, adjusting to a new place, new job, and new environment felt like I’ve been working a full-time job with overtime included.
To give you a back story or if you missed my post from last year, we moved from Florida to North Carolina. I still pinch myself to make sure I’m not dreaming. It has always been a dream of mine to live in another state ever since I moved to Connecticut for school in 2007. While in Connecticut, I was able to visit places like New York, Maryland, Rhode Island, Massachusetts, and Virginia. I loved seeing the winding hills, four seasons, many trees, and the old houses. Fast forward to about 2016, my family and I started traveling to different locations in the U.S. at least once a year. When we visited in North Carolina, we knew, this was it.
When we moved to NC, I was able to start a job, but it was stressful. While working the job 6 days a week, we were looking to buy a house. So our weekends were focused on looking at properties and exploring surrounding areas. Besides looking for a house, we were looking for a church to join. And that’s not all, my youngest was home and we needed to find a childcare facility that had space for her to start school. Needless to say, it’s been hectic. But the good news is now we are getting settled in…somewhat.
Alright, now that I’ve filled you in, I wanted to share a simple project that you can do at home. With the prices of furniture going up, I’m more inclined to do some DIY projects here and there.
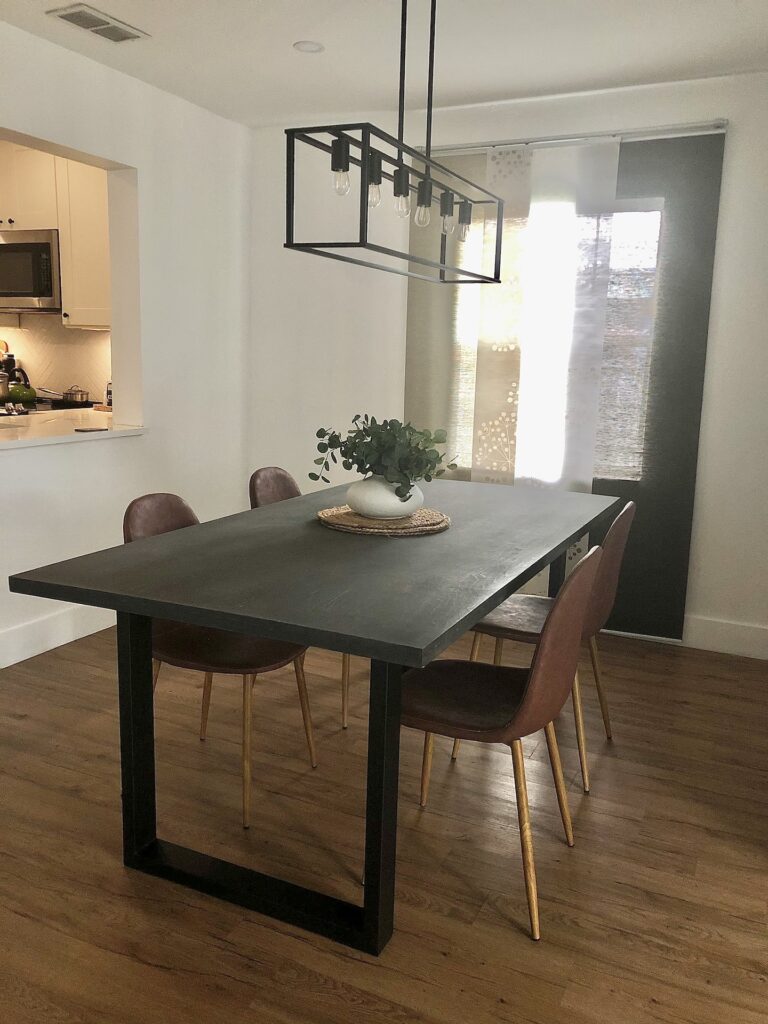
As you can see from the title, we decided to build our own table from wood pieces. With basic tools, this table is possible to build.
When we bought the materials for this tables, it was many months back, so the price of wood may differ now. Here are the steps:
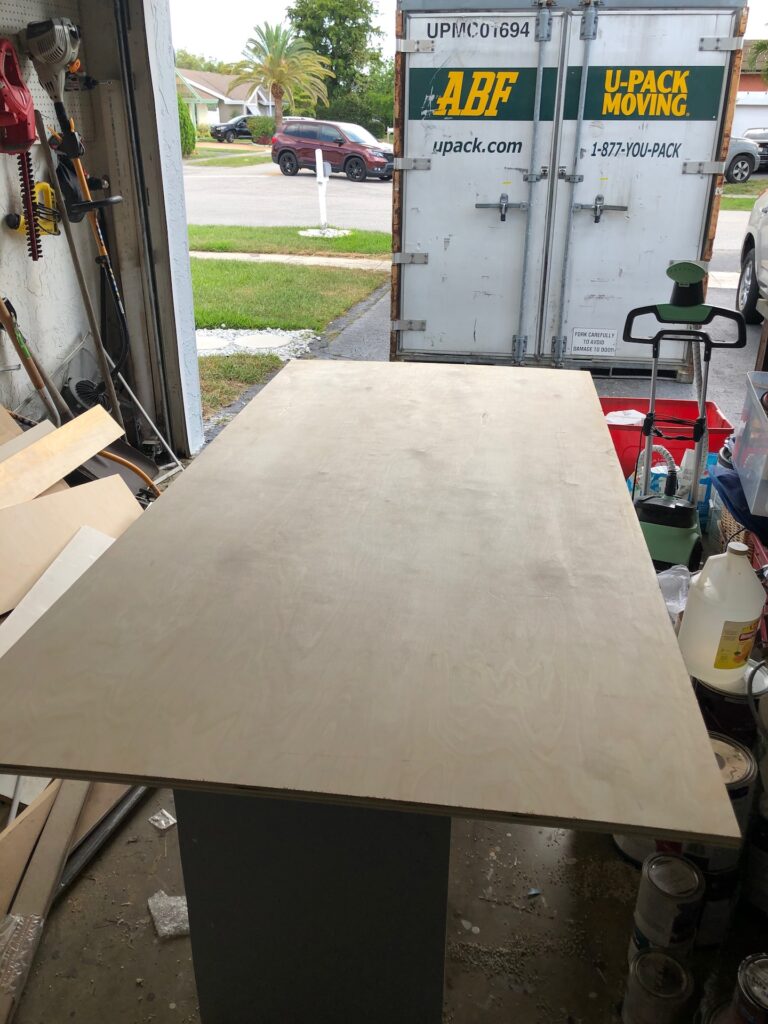
We purchased a 4’x8’x0.75″ sheet of plywood from the hardware store. You can either cut it to your desired dimension or have the associate cut it for you. My husband cut it to size.
On the underside of the table, we attached 0.75″ thick wood planks to border the plywood sheet. The wood planks need to be cut to size. We cut the planks at a 45 degree angle.
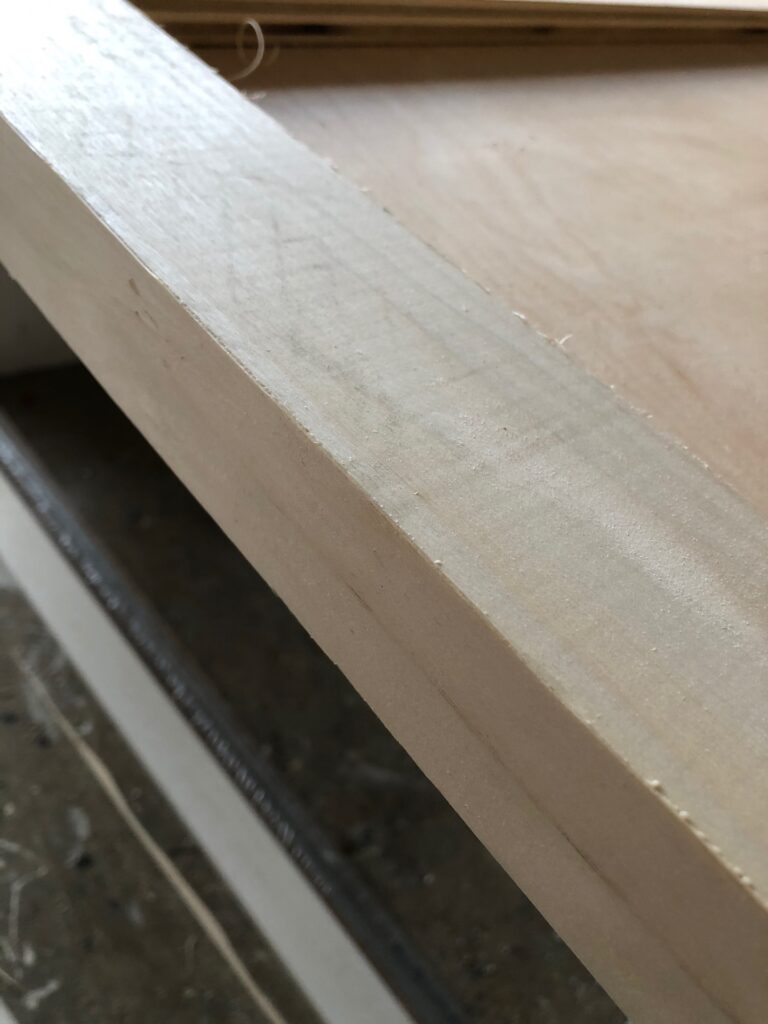
We then ironed on the edge banding we got from Amazon and trimmed off the edges with an X-acto knife. We then sanded the table top and sides to make sure it was smooth. We did not sand the bottom of the table since it was not exposed.

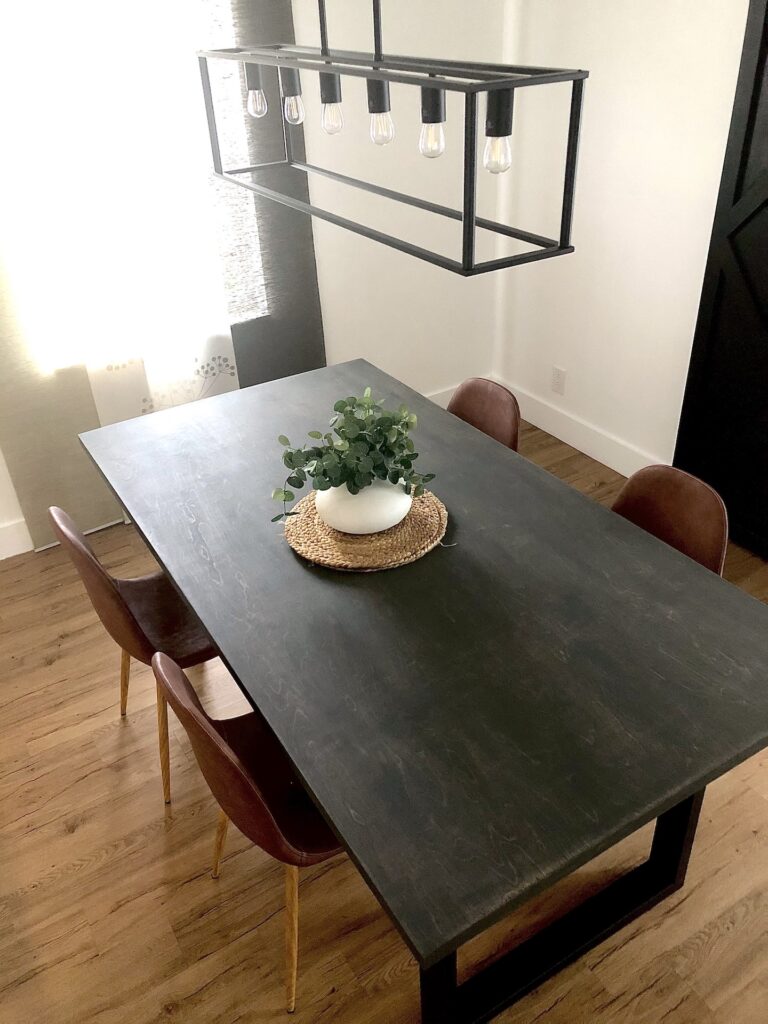
We proceeded to stain the table grey. We tested other stain colors as well, but liked the grey stain with wood undertone. Because the table gets a lot of use, we then added a clear coat on top to protect the table top. We added a spray-on poly coat, but it left streaks. So next time we will get a roll on poly clear coat.

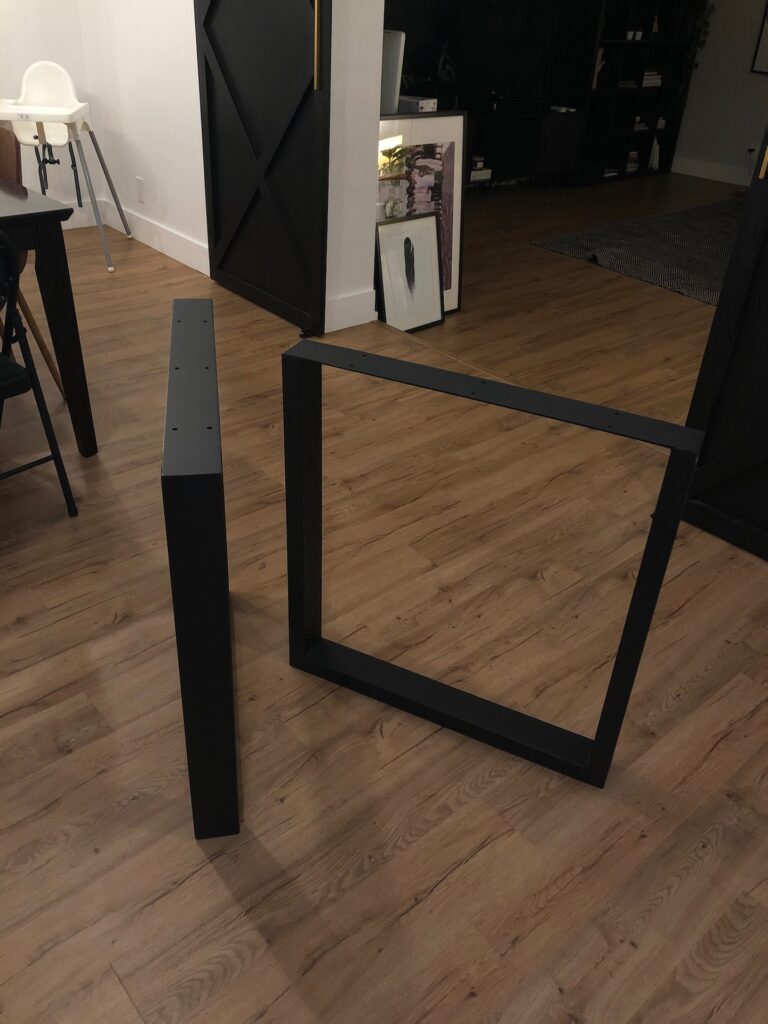
Once the table was dry, we added the legs to the table top and we finish the project in about 4 days.
Here are the links and cost to this build:
plywood sheet: https://www.homedepot.com/p/18mm-Sande-Plywood-3-4-in-Category-x-4-ft-x-8-ft-Actual-0-709-in-x-48-in-x-96-in-454559/203414066
Edge band: https://www.amazon.com/gp/product/B07XYDT9BL/ref=ppx_yo_dt_b_asin_title_o05_s00?ie=UTF8&th=1
Table legs: https://www.amazon.com/gp/product/B082GYK58H/ref=ppx_yo_dt_b_asin_title_o00_s00?ie=UTF8&psc=1
You can also watch the youtube video here:
Until next time :).