Hey everyone!
I know it’s been a while since I shared a project and I’m so excited about this one. As much as I like an open floor plan, sometimes a home can be too open if you get what I mean. For us, we have 2 living rooms and there was no separation from our living room, dining, and den. So whenever we had guests over spending the night in our second living room (den), they would be awaken by someone going in the fridge, or someone using the dining room. So it was time for a change. We felt a barn door was great weekend project to separate the 2 spaces.

At first, I looked into buying a barn door kit at our local home improvement store, but it was over a thousand dollars. So I asked my husband if this is something we could build ourselves. And when I say we, I mean if he can build it and I help with the simple tasks like painting and such. He said yes.
As I was doing my research, I came across Jenna Sue design blog and saw how she created barn doors at an affordable price. So we followed her exact plans. We thought it would be a great pattern for our home aesthetic.
We first measure our door opening and accommodated for the extra length we needed for our barn doors to hang on the sides of the wall. We bought our barn door track system from amazon here. It was a total of 13 feet. We also made sure to measure the height of our walls so we can build the right size height for the barn doors.
We went to Lowes to pick up cabinet grade plywood sheets and 1x3x10 inch wood trim. We followed Jenna Sue’s plan but modified the dimensions to fit our space.

We didn’t use expensive tools. At the time, we only had a circular saw, jigsaw, and a ruler. That’s all we needed for the project. One can even use a hand saw if inclined.
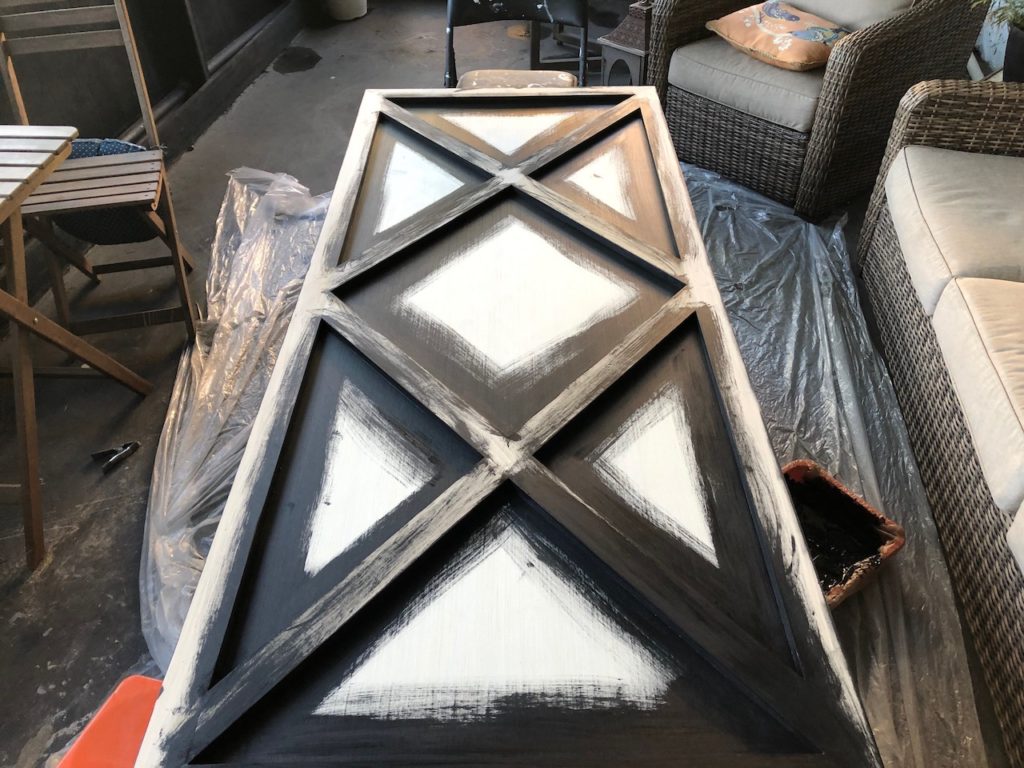
After we made the X pattern on the doors, we nailed each trim into place, filled the holes with putty, and sanded. We then painted the doors black.
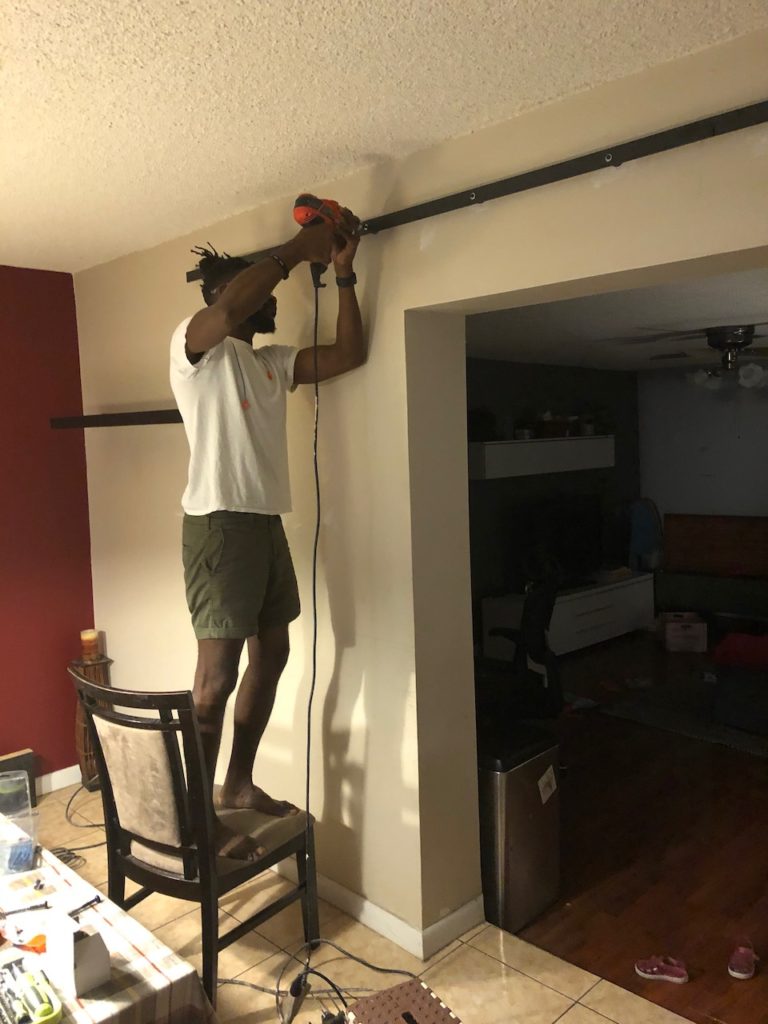
Once both doors were completed, we followed the manual instructions that came with the barn door hardware kit. Since our den was an addition, the walls were made of concrete blocks, so we had to get a special hammer drill to put the hardware.
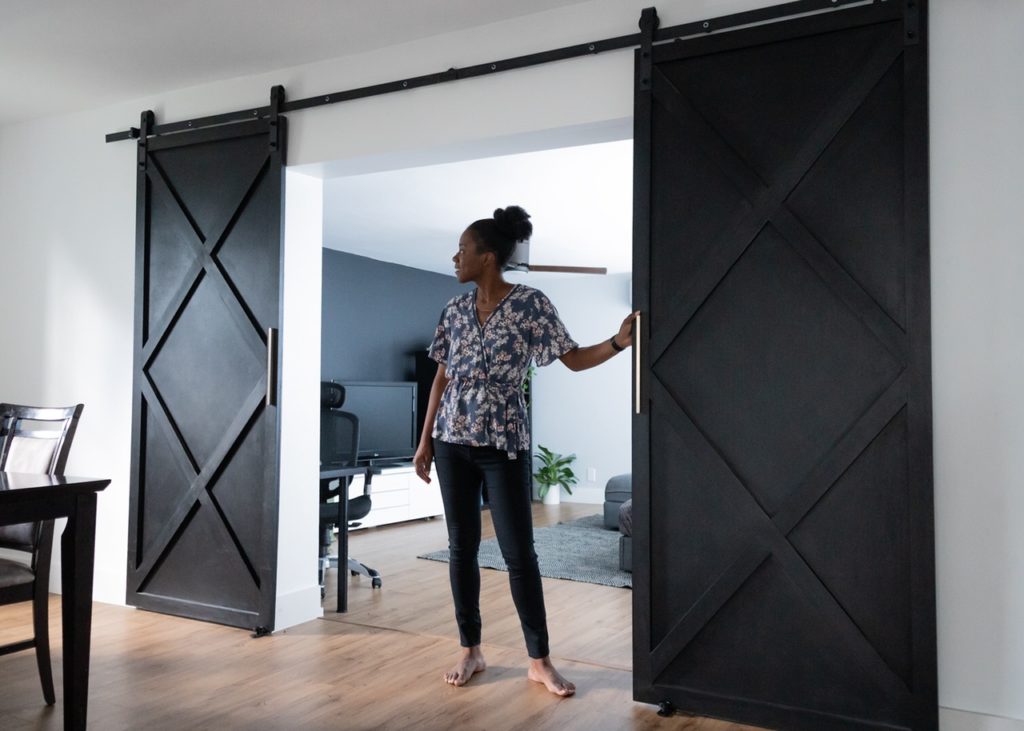
We then placed the doors carefully on the track. We added hardware from Etsy to open the doors and finger pulls in the back of the door. I must say we thought this project was going to take a weekend to do, but it actually took us about a week.
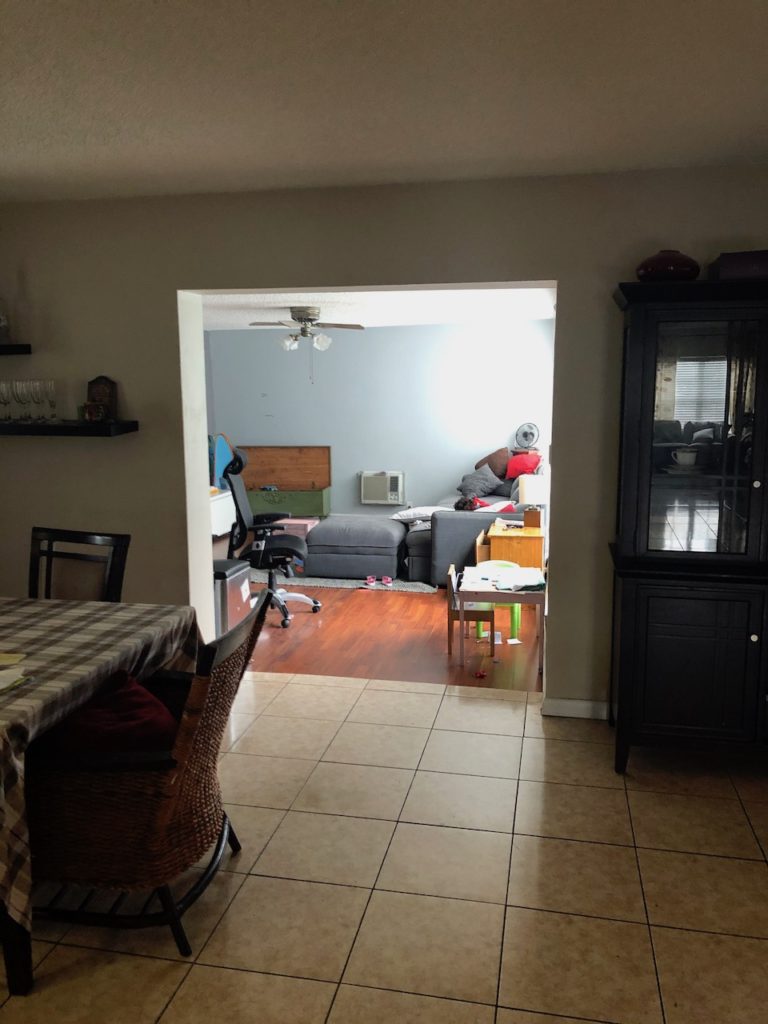
Here is the before:
And the after:
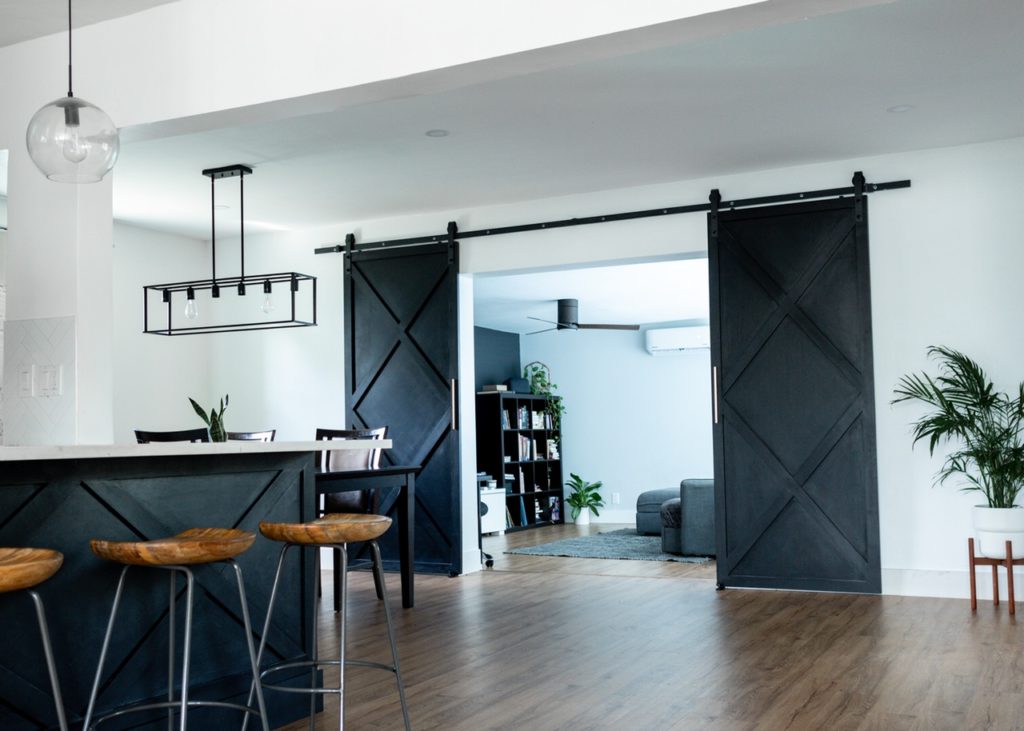
As you can see, we made other changes to our home, like adding vinyl floors throughout the home. We are so happy we did because the tiles were too cold both in aesthetics and on our feet. We were so happy with the outcome of this project and would love to tackle it again for another home.
I encourage you to try this project if you have some open spaces in your home. So let me know if you have a special door project and comment below. I’d love to hear your thoughts.
Please check out our video on youtube:
Until next time…