I am still in awe with writing this title. Who has a wet bar these days? Not many that’s for sure. But if you do have a wet bar, why not make it look nice, new, and modern. I remember the first time I saw a wet bar at an individual’s house, one thought came to mind…shiny. There were gold accents, bottles, and a mirror. It definitely caught my attention. Well, seeing this bar at the house had me confused. Let me show you the monstrosity we were working with.

Ok maybe it’s not that bad compared to others, but I was not sure what this area was supposed to be. It looked like a bathroom vanity in the middle of the living room. I wouldn’t know if I should brush my teeth or make a cocktail.
We knew we had to remove these old cabinets, but we weren’t sure if we should just make this area a small office, built-in bookcase, or rebuild the bar. We had to nix the idea of a small office since the tile did not continue under the cabinet. The bookcase could have been a potential, but we would have to get an electrician to re-route electrical wires, so we landed on the solution of keeping the area as a wet bar. After all, it is not easy to find these days. Plus the wet bar can be an alternate coffee, tea, or wine bar.

The old cabinet was ripped out and the old mirror and lights were dumped. I looked into getting stock cabinets from the home improvement stores but found that Ikea cabinets were less expensive and they were having a 10% sale. As always, I went to check out the “AS-IS” section of Ikea first and found the perfect countertop for 50% off ($44). I did not find the base cabinets I was looking for so I purchased a new one for about $68.
We assembled the cabinets, which took us no time and cut the countertop with a circular saw. Since we had scrap pieces of wood on hand, we cut them to size and made the filler pieces.

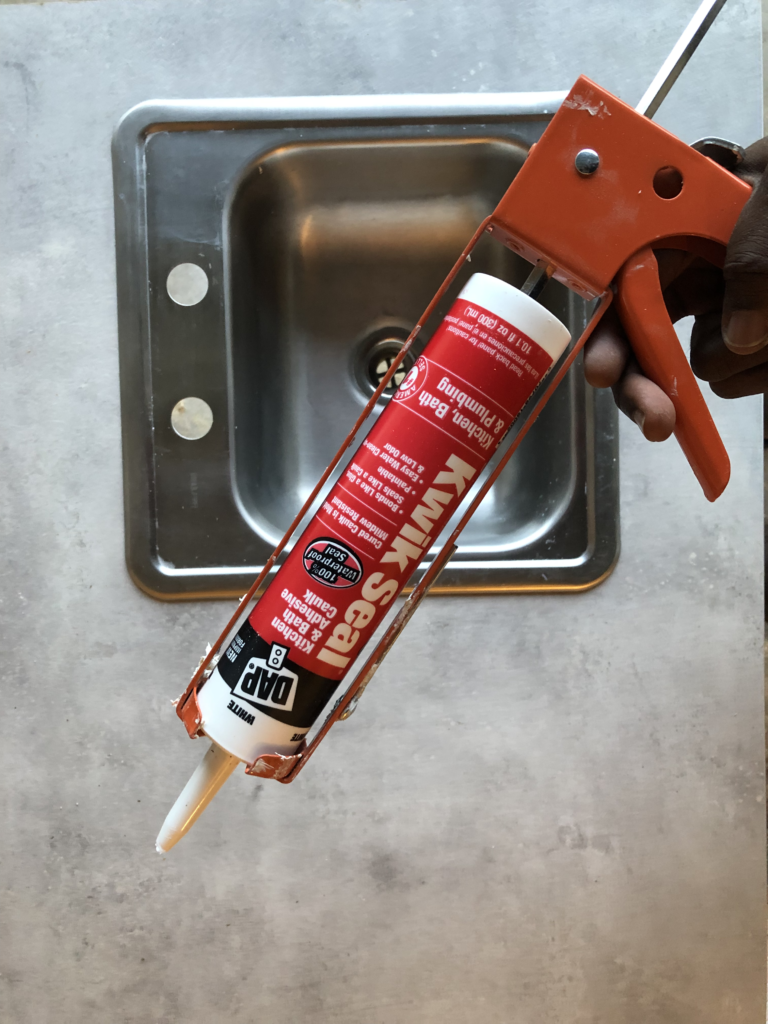
Now here is where the fun begins because this was our first time doing this. We attempted to cut a hole in the countertop to drop in the sink. We read online and watched videos on how to do this and found out the process was not so bad. It’s a matter of drilling holes and using a jigsaw to cut the hole. We then made sure to use contact cement to add an extra layer of protection it water seeped in the countertop.


Some people do skip this step, but we chose not to. We then added the sink and it was a perfect fit.
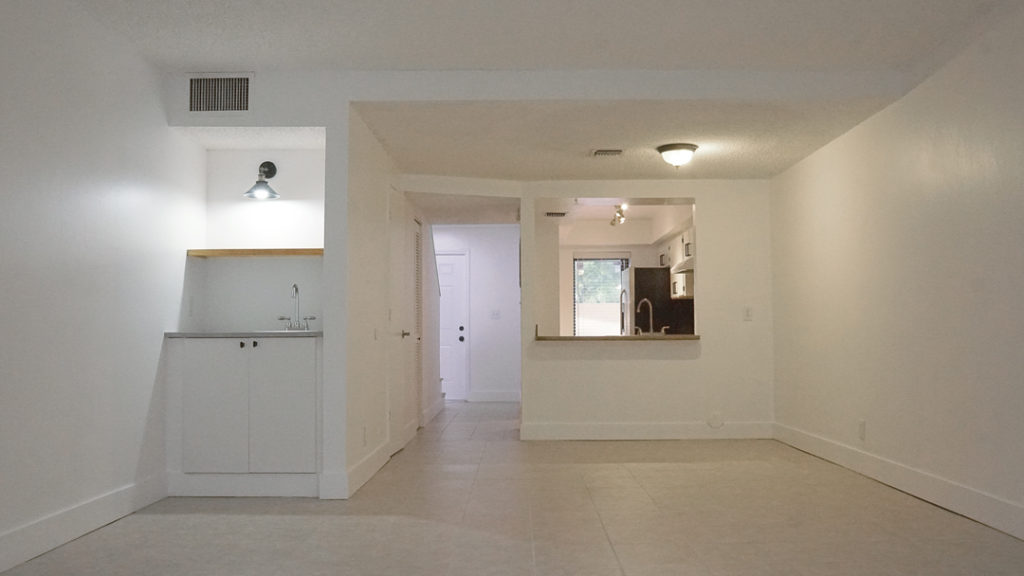
After putting all the pieces together, painting and getting a new faucet, here are the results. We also added a wood shelf and a new light scone.

So Let’s look at the price breakdown:
Base cabinet– $68
Cabinet pulls- $7.96 (3.98 each)
Faucet– $51
Countertop– $14.60 each piece ($44)
Light– $24.99 (Got it on sale for $20.74)
Wood pieces- $15
Bar sink- $0 (reused)
Total ~ $182
We are quite happy with how everything turned out. But we are even more surprised that we were able to do this work ourselves and doing our own plumbing work as well.
Here is a before and after:
I’m so happy we got to complete this project and learn new things. So there you have it folks, until next time…
This was an awesome before and after I love it. Go ahead and get your Chip and Joann on!
Thank you Jephney, yes we are working this fixer-upper!