I must tell you, we’ve been working hard these past weeks. I’ve got to give a shout out to my hubby for being the real MVP on these home improvement projects. He’s spent nights and weekends working on this fixer-upper. But it has been coming along nicely. By God’s grace, we haven’t had any major setbacks.
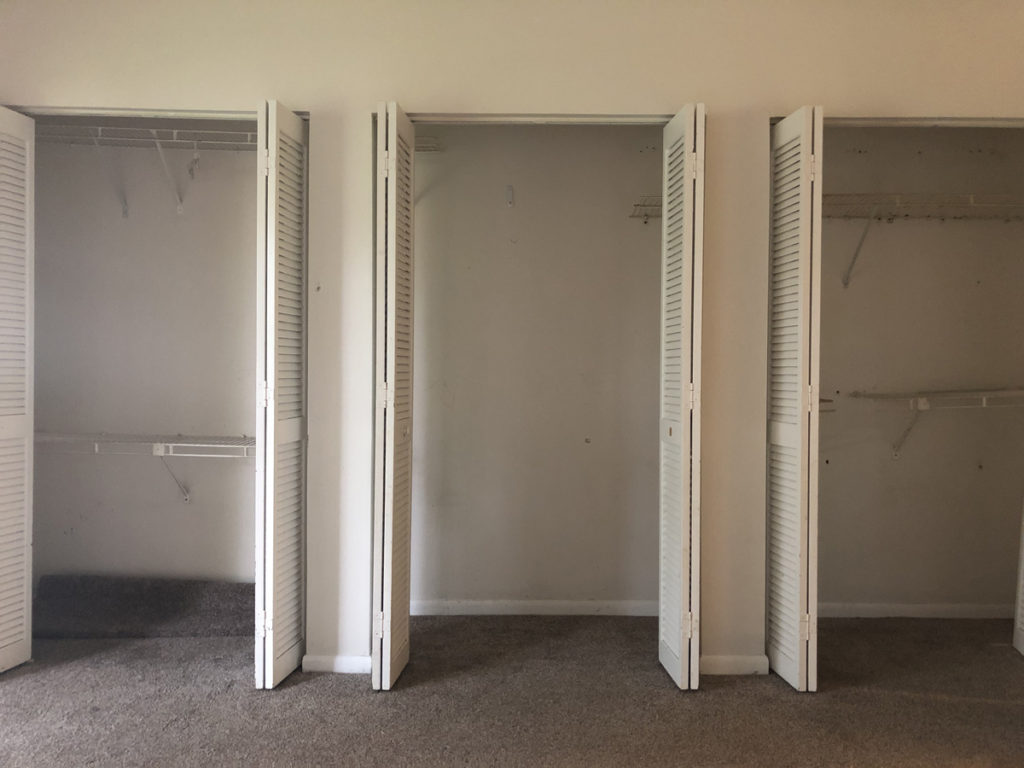
A project we could not neglect was the master closet. There were holes everywhere from previous areas of drilling in the wall. The closet shelves were loose and very unstable.
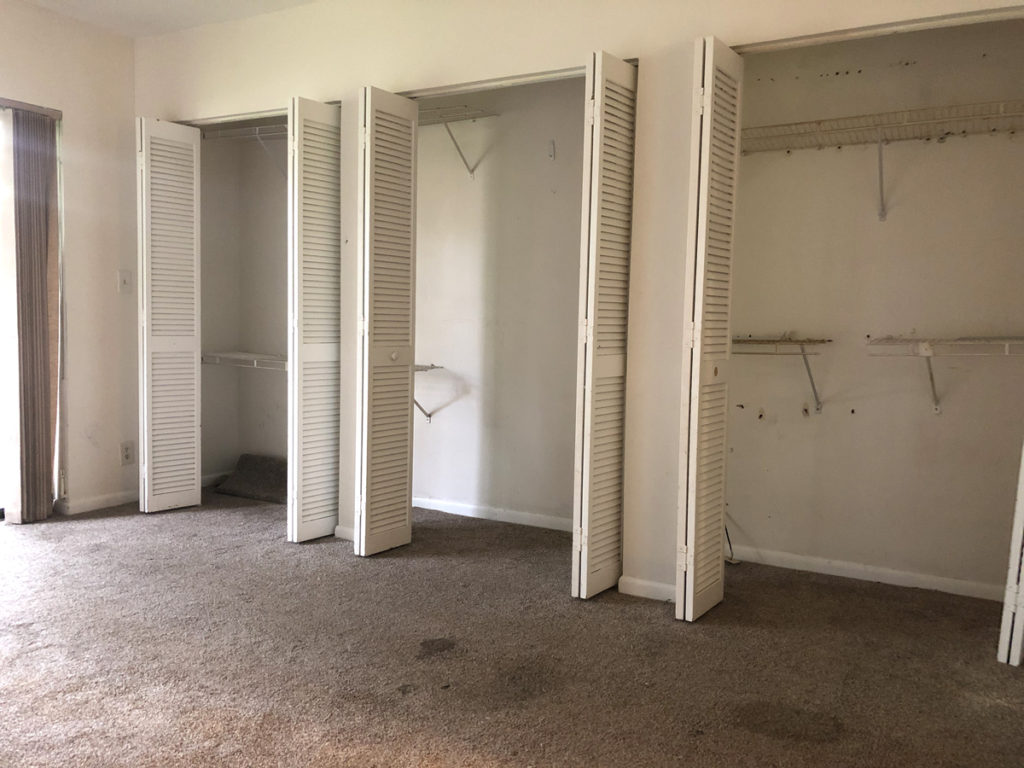
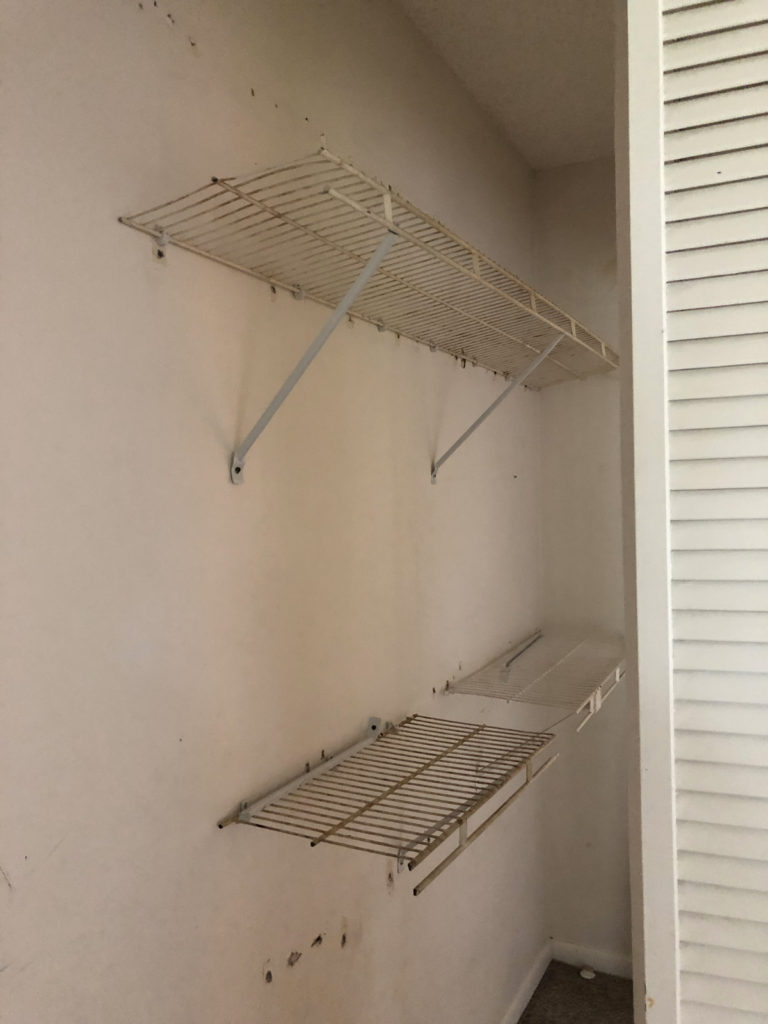
Since the closet is long and narrow, we needed to figure out how to divide the space and create some form of symmetry while keeping the closet minimalistic and on a budget.
First thing first, we tore out the nasty carpet. It took us about a day to remove the carpeting from the master bedroom and the hallway so we could put vinyl flooring in. We choose vinyl over laminate for its durability.
After adding new flooring it was time to patch and paint. Spackle was used to patch the walls then we decided to paint the space white to give it a fresh look.
We then had to figure out what to do with the closet. At first, we were going to do a DIY metal pipe closet. A look similar to this:
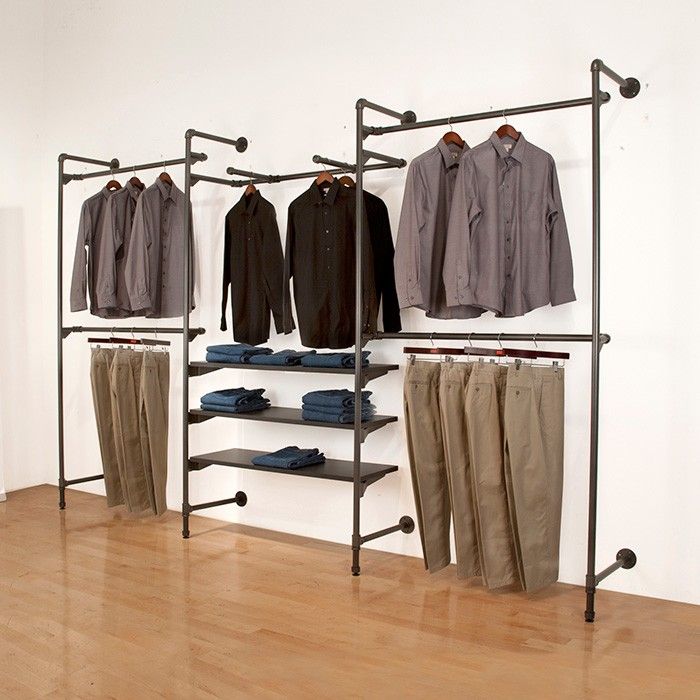
But I backtracked because metal pipes are a bit on the pricey side. So instead I went to my go-to website when I’m looking to do anything on a budget for a home, Ikea. After measuring the closet space we realized that a Pax frame can easily be placed in the closet. So we grabbed one for $70 and a couple of $5 shelves. It was built in less than an hour.
We went to home depot and got inexpensive closet wall brackets, rod brackets, and shelves. Our biggest cost savings were dowels. We were going to buy dowels in the closet aisle but realized the same dowels are sold in the lumber aisle for much less. All we had to do was cut to size.
After putting everything together here is the final product:
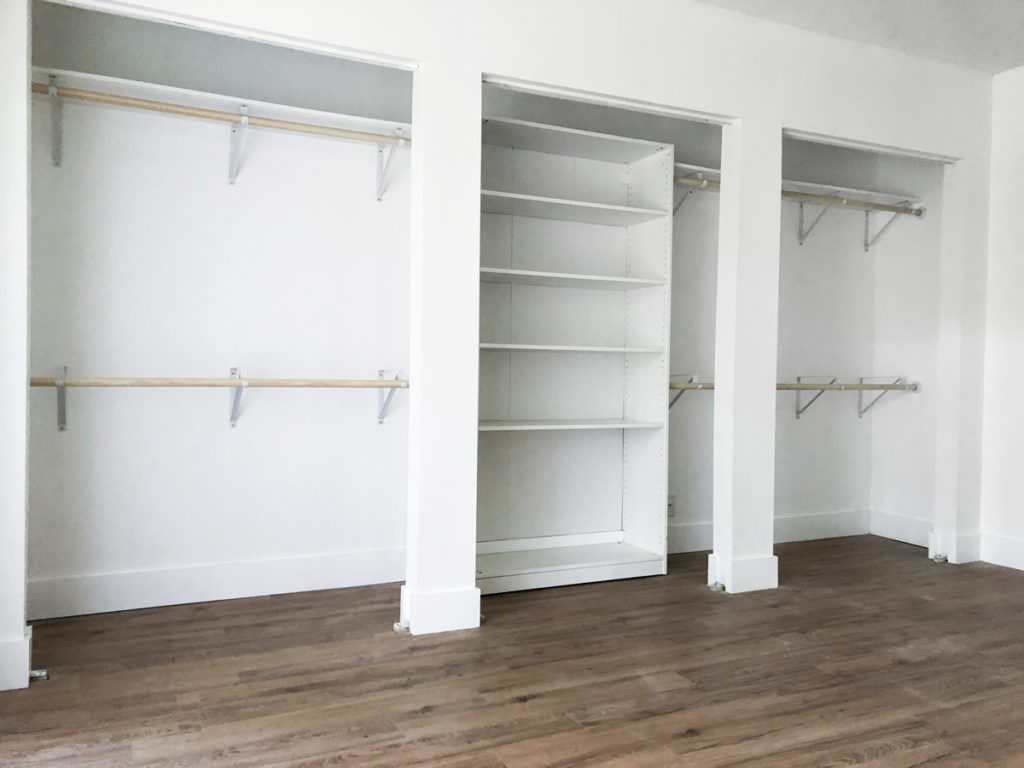
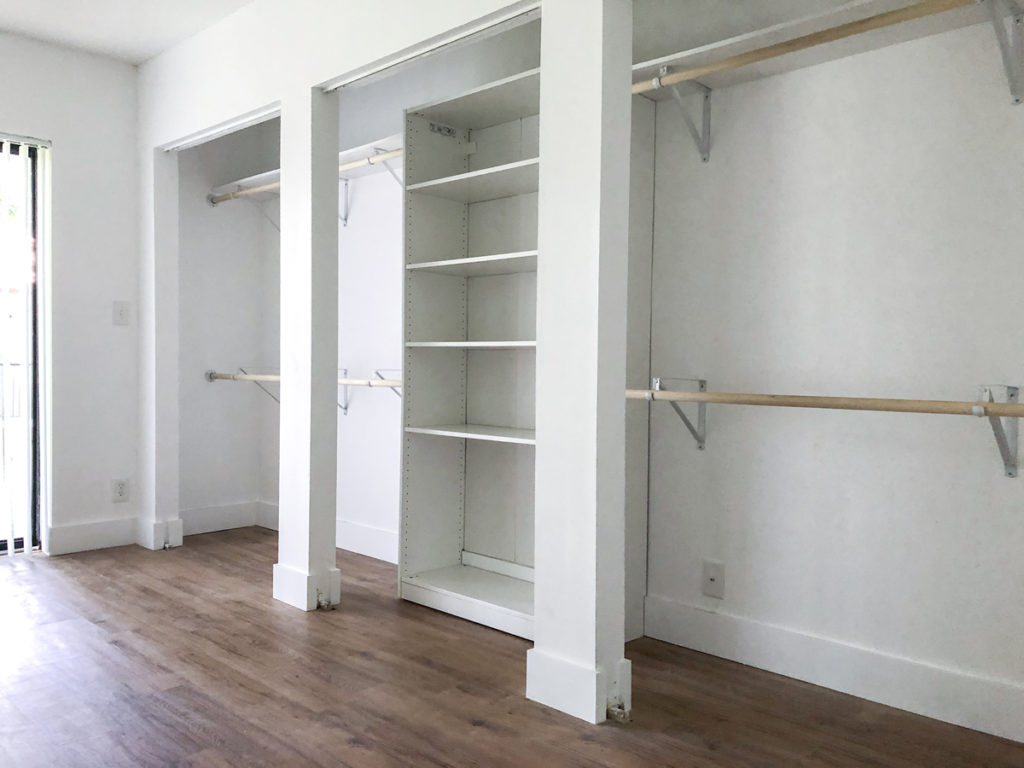
Mind you, because we have a Pax closet, this unit can be customized with shoe storage, drawers, and hangers if we want to, but we left it as is to store sheets and towels.
I must say, this closet not only looks good, but it’s also solid. We added anchors and drilled into studs to make sure that this closet can handle the weight. We are quite pleased with the turnout.
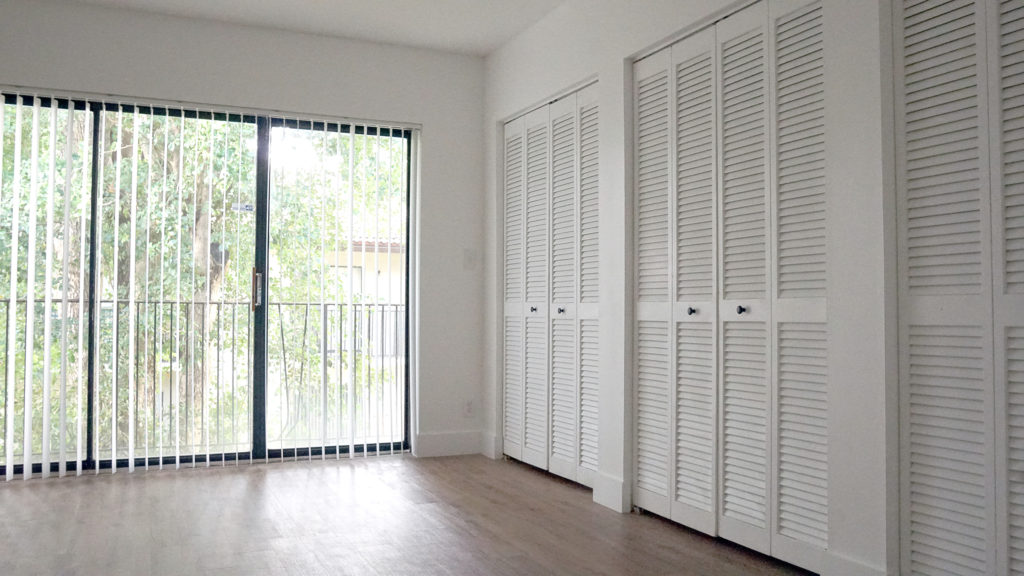
Just for a reminder, here is a before and after:


Our last step was to paint the original closet doors and add new matte black knobs.
The total cost of this project was about $160 for all the materials and free labor ;).
Well, that’s all I have for today. Until next time…