One of the last projects we had to tackle was making stair skirts. I must be honest, I was not confident we would pull this off. I am quite optimistic when it comes to many DIY projects, but we never did something like this before.
Let me show you the very beginnings of this project. The carpet was beyond dirty. We did not consider cleaning it, we just decided to rip it out.
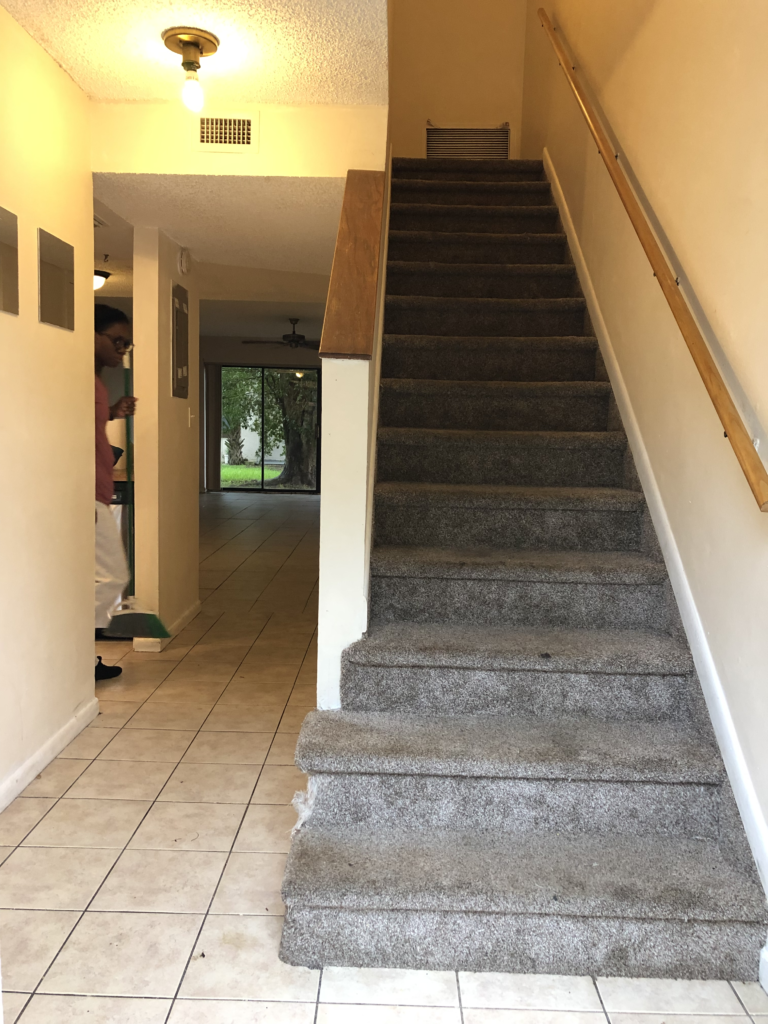
Upon removing the carpet, I had to remove every nail staple in the wood. Boy was it tedious. Then we proceeded to remove the trim that ran along the side of the stairs.
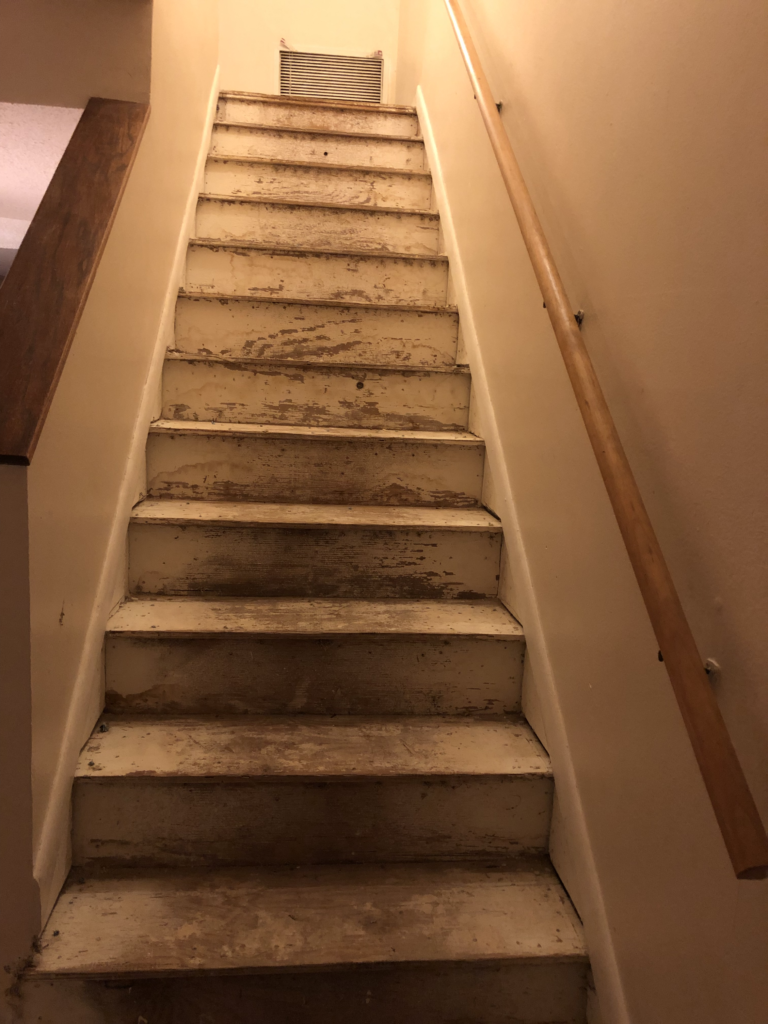
Here is a learning lesson to share with you. THIS IS THE STEP TO BUILD THE STAIR SKIRT. Unfortunately we went ahead and added vinyl flooring the the bull nose on the stairs. We did not know that should have been the last step to the project. Since we already had the stairs done, we were not going to rip everything out and start from scratch. We would work with what we have. That’s the thing about DIY, you learn a lot during the process.
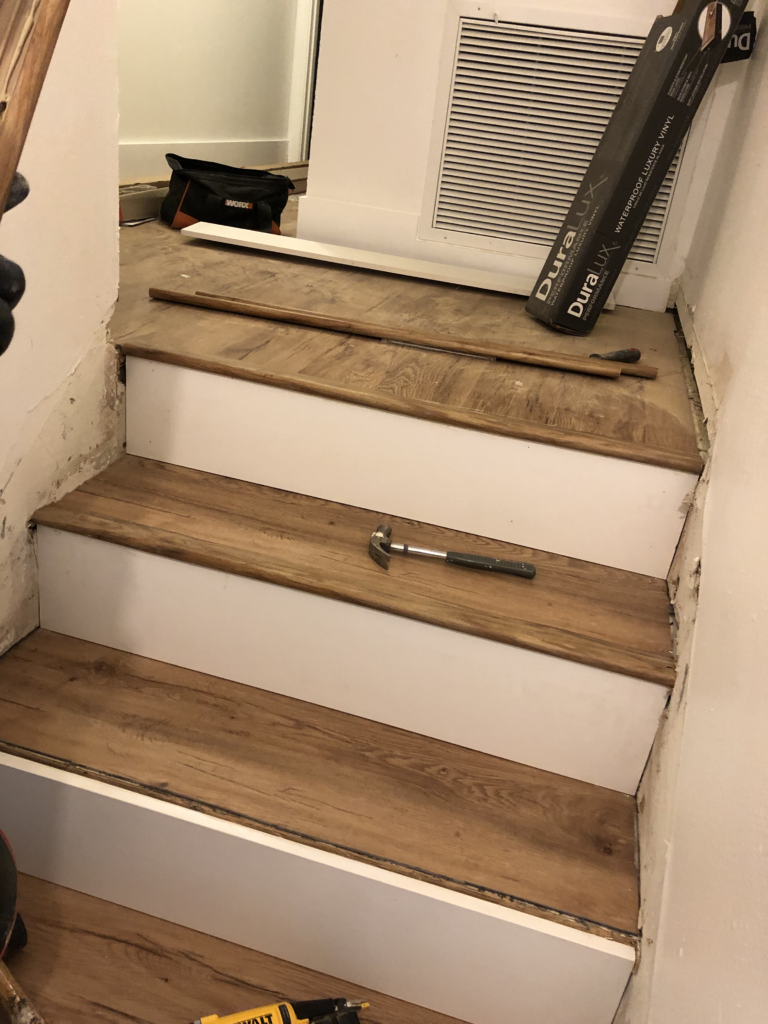
After doing some research, we found out that we needed to get an MDF sheet because we could not find a long board that fit our needs. You want to make sure the MDF sheet is the same thickness as your baseboard. We proceeded to make a template. So we used a chalk line and printing paper to do this.
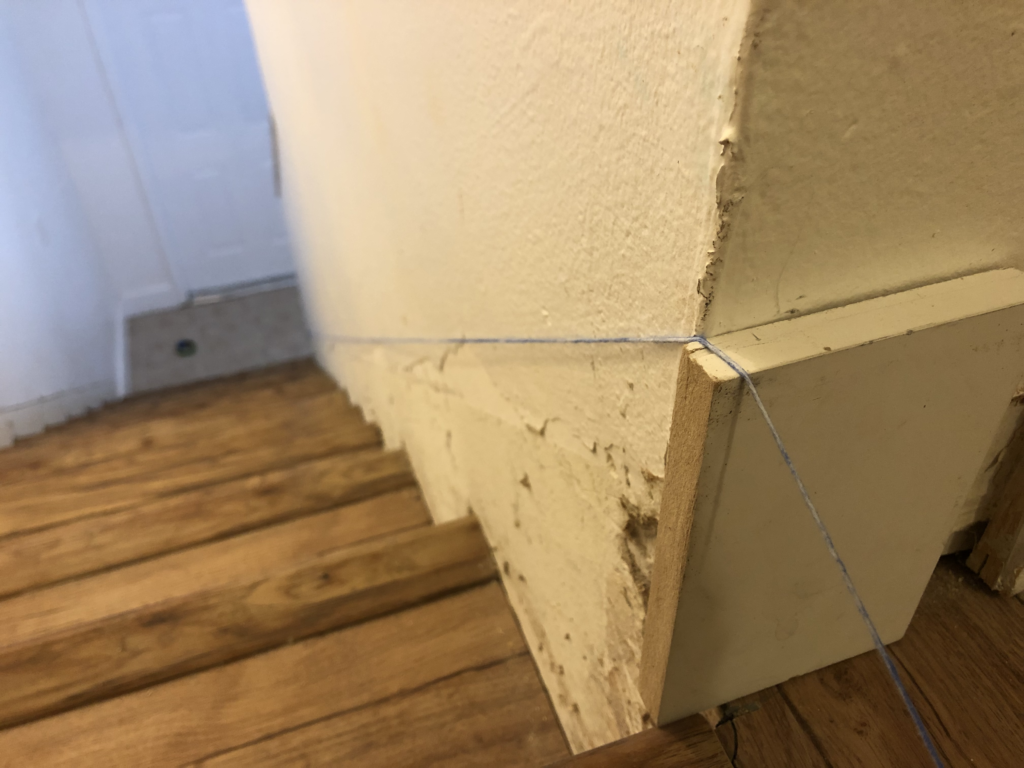
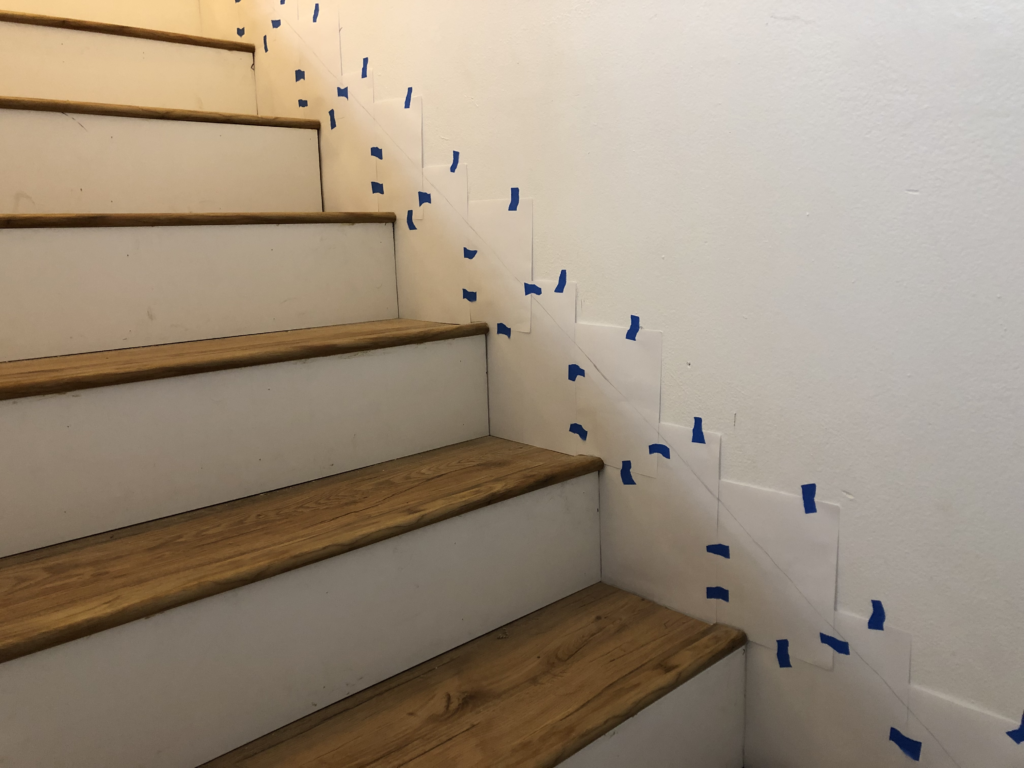
We had to mark every curve on that piece of paper. That’s why it is important to make your stair skirt before adding the bullnose. The lines otherwise would have been a 90 degree angle. We made a template for both sides of the stairs.
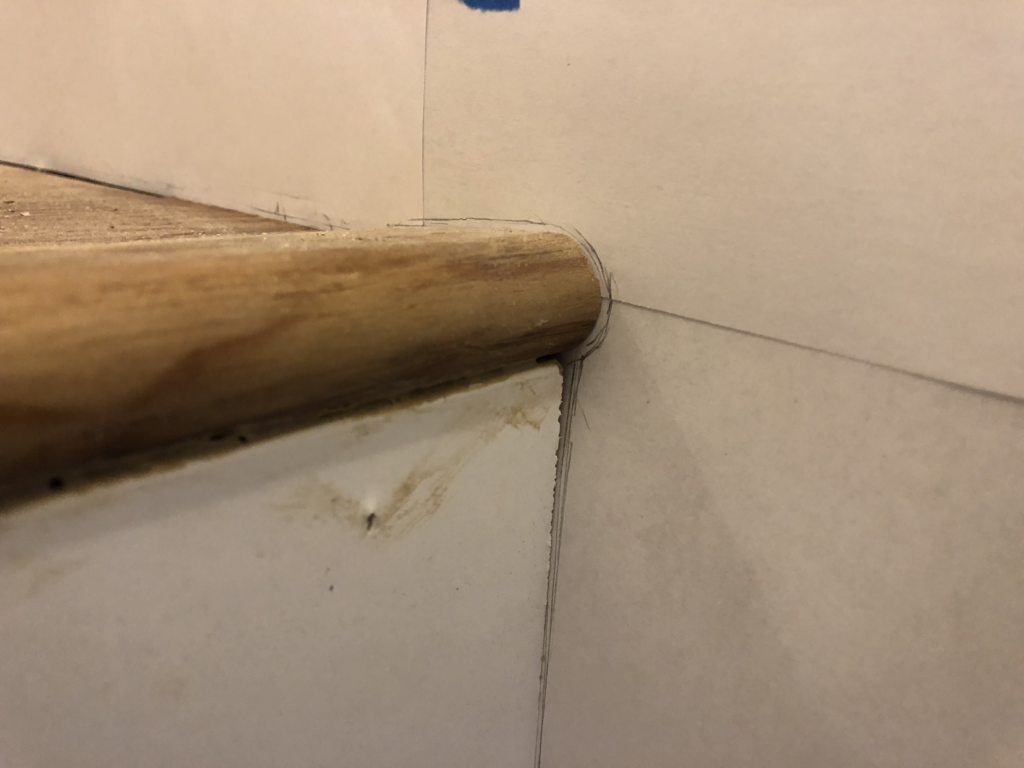
We carefully removed the paper sheets off the stairs and and placed it on the MDF sheet. We drew it on the MDF and used a jigsaw to cut to shape.

We made sure we fit the boards on the stairs before nailing it in.


We proceeded to prime and paint the MDF. Since MDF is a bit porous, priming is a must.
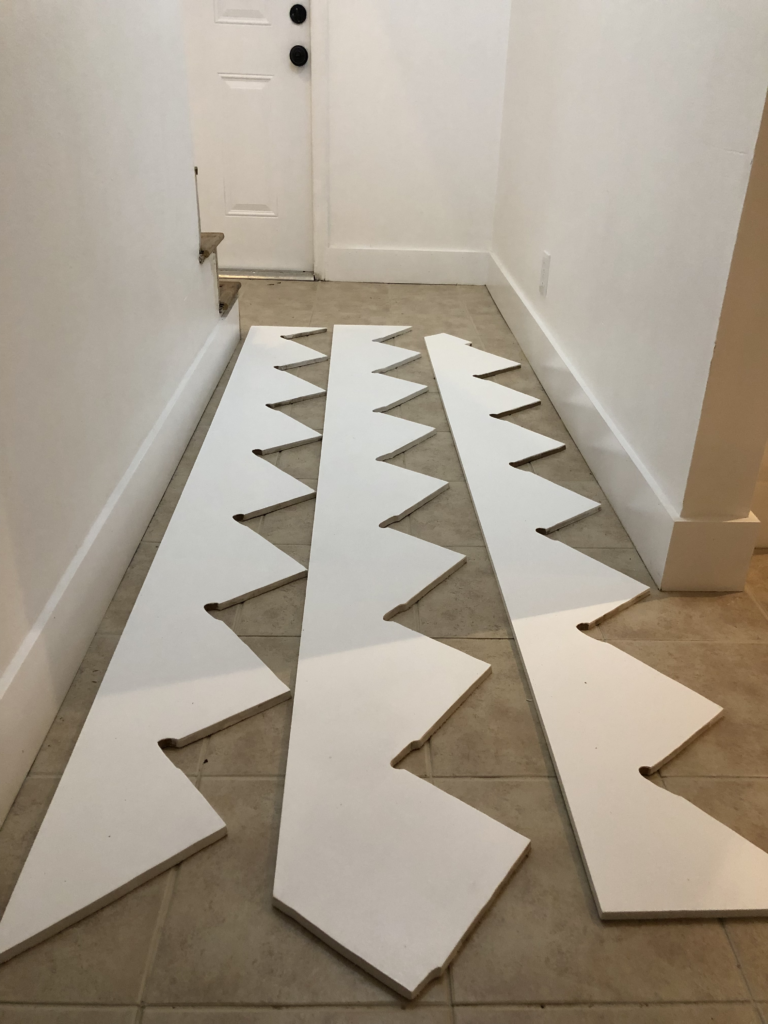
We then proceeded to nail the boards in place and then we caulked. In the picture below, you can see a gap around the stair nose. The good thing is that we didn’t have too many of those.


And here is the final product.

We had to clean and do some touch ups on the stairs because it was looking rough. So here is the before:

And the after:

Shout out to my hubby for working long hours to complete this project. I really liked the way it turned out.
Until next time…

why you hide the wall on the right side? how do you transition between skirt from stair and fllor baseboard?
Great job! I bet very time consuming, but worth it in the end. Where did you buy the MDF sheet? Did you have more than 1 piece for one side of the skirt?
Thanks Evi. We bought the MDF at HomeDepot. Yes we had more than one piece for each side. We had a large sheet of MDF and cut it in half to make the sides of the stair skirt
Thank you. Very useful
Thanks for posting. Great post and great job!
Thank you Armin!
Very timely info.
Did you invent the idea of creating the template with paper? Good idea!
Hi Steven, I’m so glad this post helped. No we did not invent the idea, but searched different platforms. Thank you :).