Hey everyone!
Though we are not completely finished with updating our entire pantry space, we did manage to get all the doors painted and back on the hinge. We still have some minor details to finish though. We need to paint the sides of the cabinets since it looks yellow, I have to coat the cabinets with poly for extra protection, and we need to add push open door latch to the cabinets. If you haven’t already, check out part 1 of this post to get more details of the process.
So, I wanted to start from the very beginning. This is how the pantry was for a long time. I didn’t know what to do with the empty space, so I decided to add a rod from Ikea with “S” hooks to hold our bags.

I really wanted to create symmetry since the space was a bit small. Plus it’s always nice to have extra storage if possible. We removed one cabinet and shifted it over to the side.
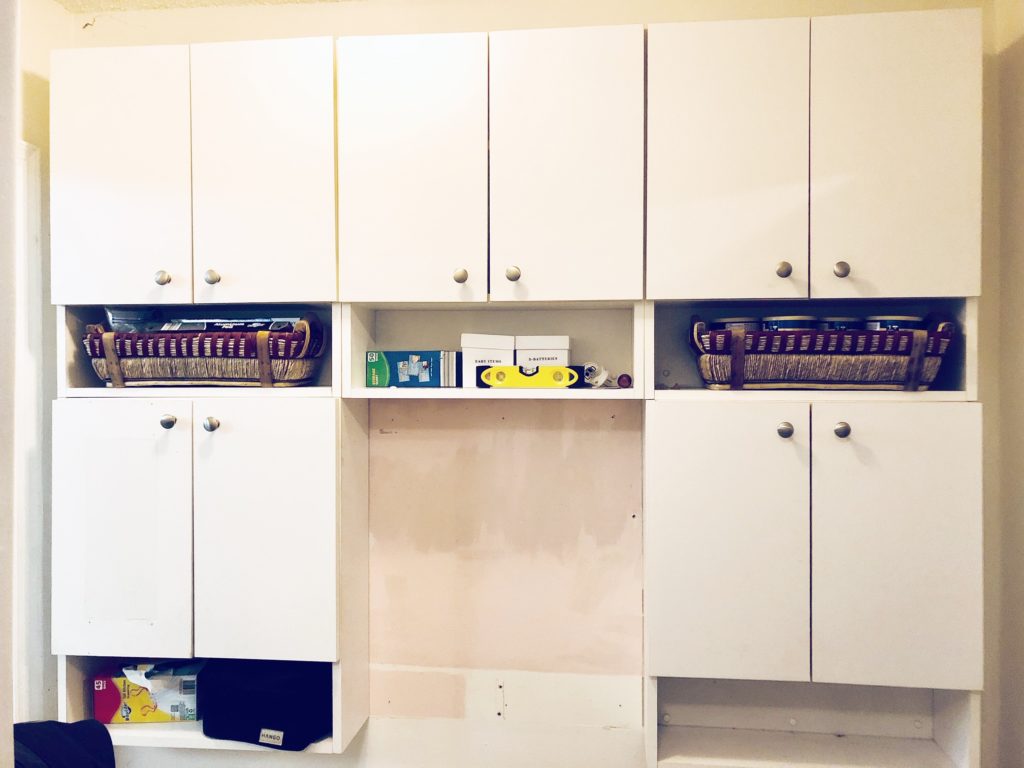
Then we built in some open-shelving. We decided to keep the wood unpainted to add visual interest. We may paint it in the future, but for now, we are leaving the color as is.

Adding trim to the doors wasn’t too bad. We bought a plywood sheet and had the personnel from Home Depot cut it into two-inch strips. What took most of our time was the sanding and caulking.

We only used glue and clamps to attach the trim. No nails were involved which made the process a little less time-consuming. We used a standard paint sprayer to paint the cabinets and I also painted one by hand to see if there was any difference, but I didn’t notice a big difference. I believe it’s because we used cabinet rescue paint. It has a great finish and dries hard.

I decided not to add knobs since the space is quite narrow. It gives it a cleaner look as well. I proceeded to add all the items back into the cabinets and here is how it turned out. I was quite pleased.

This project took some time, about a month and a half we’re still not finished. But for what we were able to do with a packed schedule, this is great. Did I mention that we have no carpentry skills, we’re just your normal DIYers, so if we can do this, so can you.

I hope this post will help you modify spaces in your house or apartment inexpensively.
Until the next one…
Great job! They look amazing!!!
Thanks Lyn!